Mountainbiking is all about conquering obstacles and challenges, and sometimes you just can’t roll over them. That’s when you need to pull out your secret weapon: the bunny hop! The bunny hop is a must-know skill for any dedicated mountain biker. In this article, we’ll give you some tips and a step-by-step guide to help you master the bunny hop.
Mastering the Bunny Hop
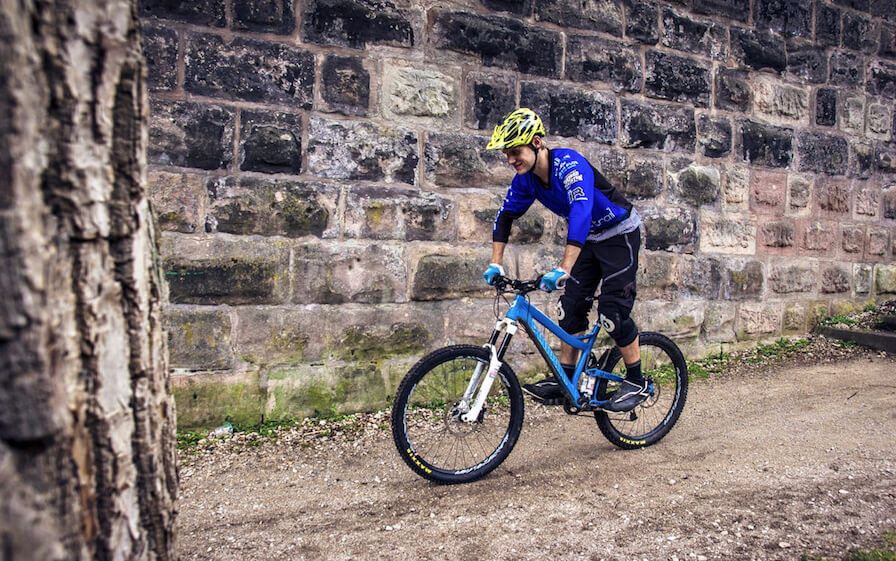
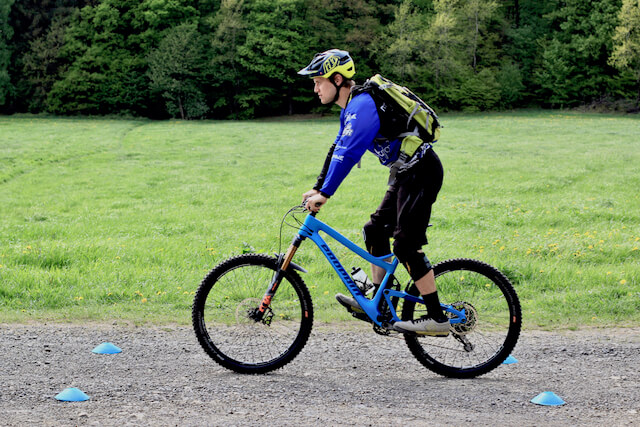
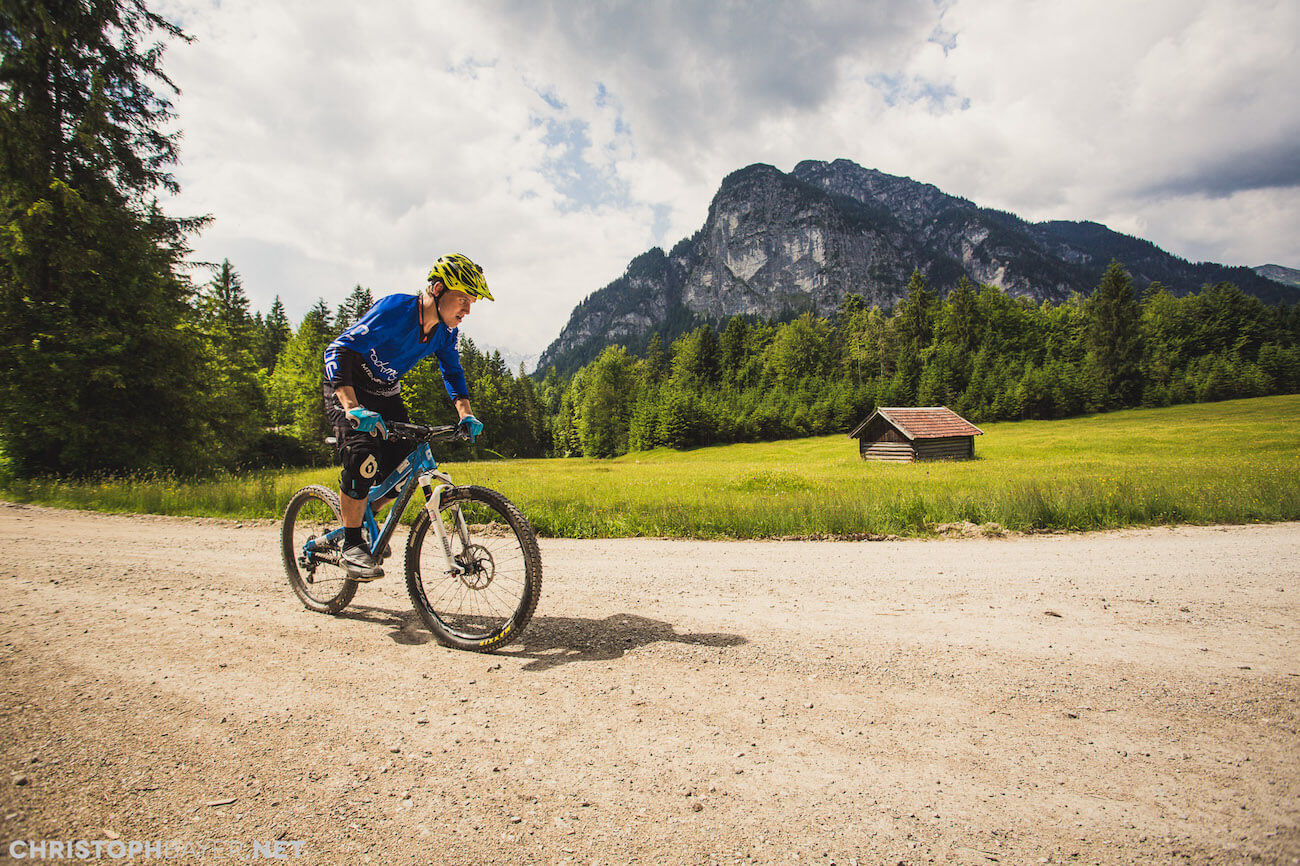
To learn the bunny hop, you need to have a good feel for your bike. It’s crucial to start with a solid foundation of riding technique. The key is to master the neutral and active positions. In the neutral position, your legs are about 90% extended, with the saddle lowered about 5cm above your knee joint. In the active position, your body weight is centered above the pedals, with your hips slightly back and your elbows pointing outward.
Build Tension: Learn the Activated Position!
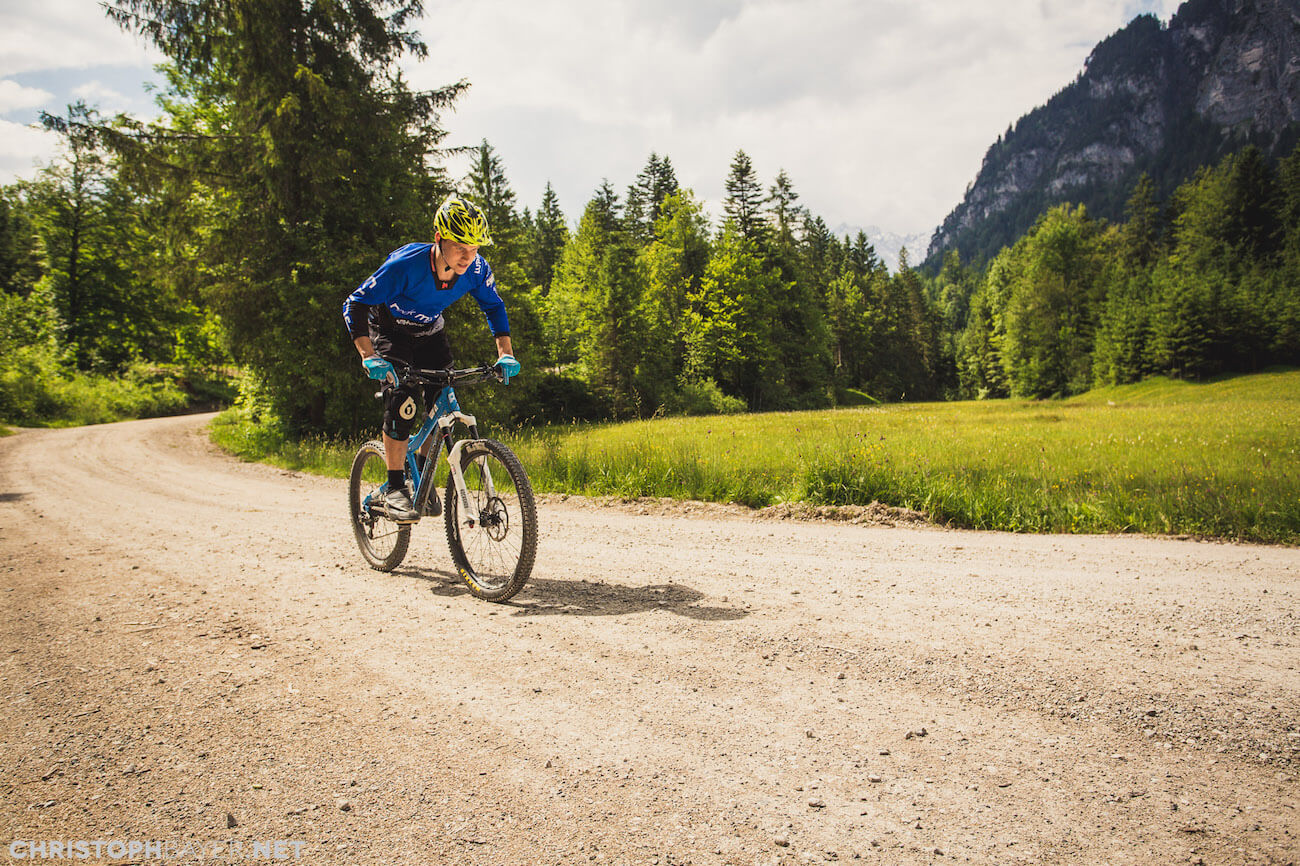
Another important aspect of the bunny hop is the activated position. This position involves bending your arms and legs and lowering your body weight to the level of the saddle. By doing this, you build up essential tension. You can find a video explaining the basics and the activated position in our video here.
Tips to Keep in Mind When Learning the Bunny Hop
It’s important to ensure that your front fork and rear shock (if you have one) are properly adjusted. They should not be too soft, and the rebound speed should not be too slow. Both of these factors can make learning the bunny hop more difficult.
Tip 1: Build Tension!
Start by transitioning from the neutral position to the activated position. Lower your body weight dynamically, but make sure your arms are not bent more than 90 degrees.
Tip 2: The “L” Movement!
After lowering your body weight, simultaneously bend your arms and legs, shifting your body weight horizontally towards the rear. This movement is known as the “L” movement. It releases the tension built up and lifts the front wheel slightly.
Tip 3: Straighten Up & Bring the Handlebar to Your Hips!
After the “L” movement, it’s time to straighten up. Stretch your body upward and pull the handlebar toward your hips. This extended time in the air allows for smoother movements. Don’t rush it; keep it relaxed.
Tip 4: Time for Take-Off!
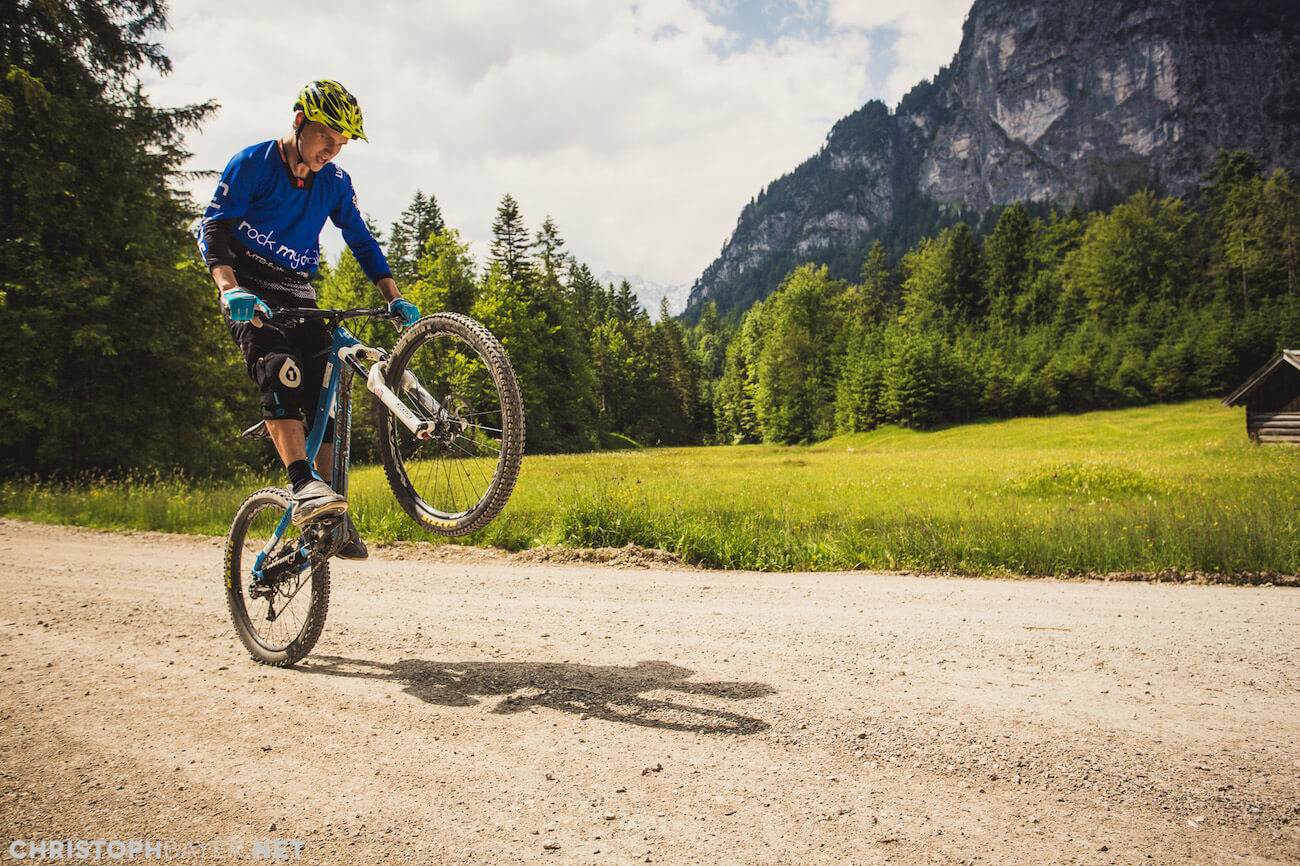
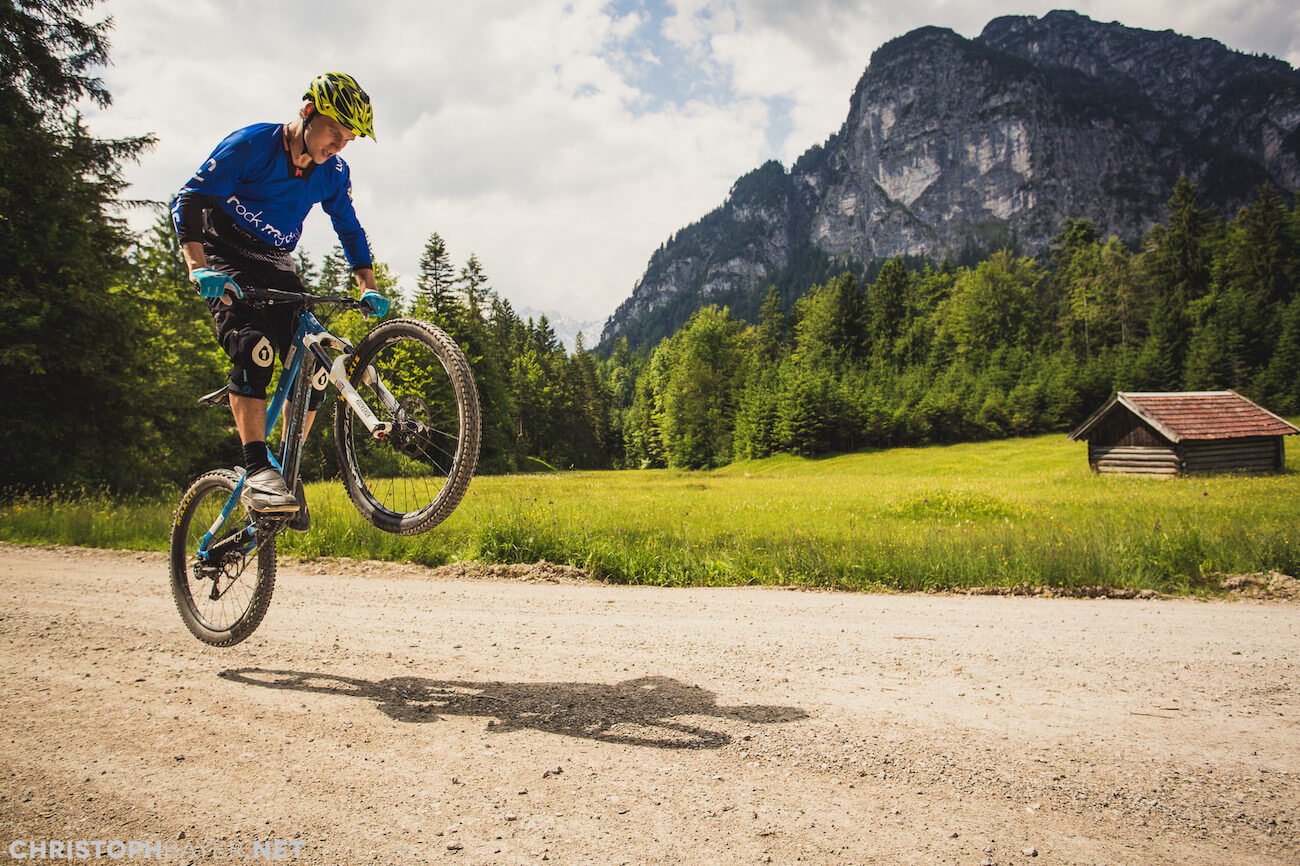
Now for the crucial step: getting the rear wheel off the ground. After straightening up, lean forward and push off the ground with your extended upper body. Point your toes downward as the rear wheel lifts off. You’ve just completed your first small bunny hop!
Tip 5: A Smooth Landing!
The final tip for the bunny hop is to stick the landing. As you land, focus on a clean and gentle touch. Initially, it’s not important if both wheels touch down simultaneously or if the front wheel lands slightly earlier. With more practice, you can aim for a simultaneous landing of both wheels. Remember to use your arms and legs as an extended suspension system, but maintain body tension.
Congratulations! You’ve learned all the tips and tricks for the bunny hop. After landing, return to the neutral position and get ready for the next trail section. If you’re a beginner, start with soft obstacles to practice your bunny hop. Remember, timing and a bit of speed are crucial when executing the movement.
If you want to review the tips for the bunny hop in more detail, check out our YouTube video on bunny hop learning!
Remember, to become a master of the bunny hop, you need patience, the right tips, and a good feel for your bike. A solid foundation of technically executed manual impulses is essential. You can learn this in our advanced riding technique course. Bunny hop learning is usually part of our expert course, but we can also teach it in a private coaching session.


